DIY -make your own little goodie/giftbag-

Well hello, i hope you are still enjoying our (crafty) blog :) For today i have another DIY for you. I made this post several months ago over at my own blog, but with the upcoming Holidays i thought it would be lovely to also share it here ❤

When i was sorting out my craftsupplies i saw all my pretty wrappingpapers and thought it was a pity that they were just lying around, instead of being used! There's such pretty (gift)paper all around! Just a few examples: Christmas wrapping paper, scrapbookpaper or even design your own!


Supplies
- (gift)paper
-scissors
-double sided tape

cut a piece of paper in the size that you like

fold your paper

fold the other (smaller half) over the big one

confirm you double sided tape
and fold the smaller side over it

fold the 'bottem' up

add double sided tape
fold & make sure it's solid

almost done..
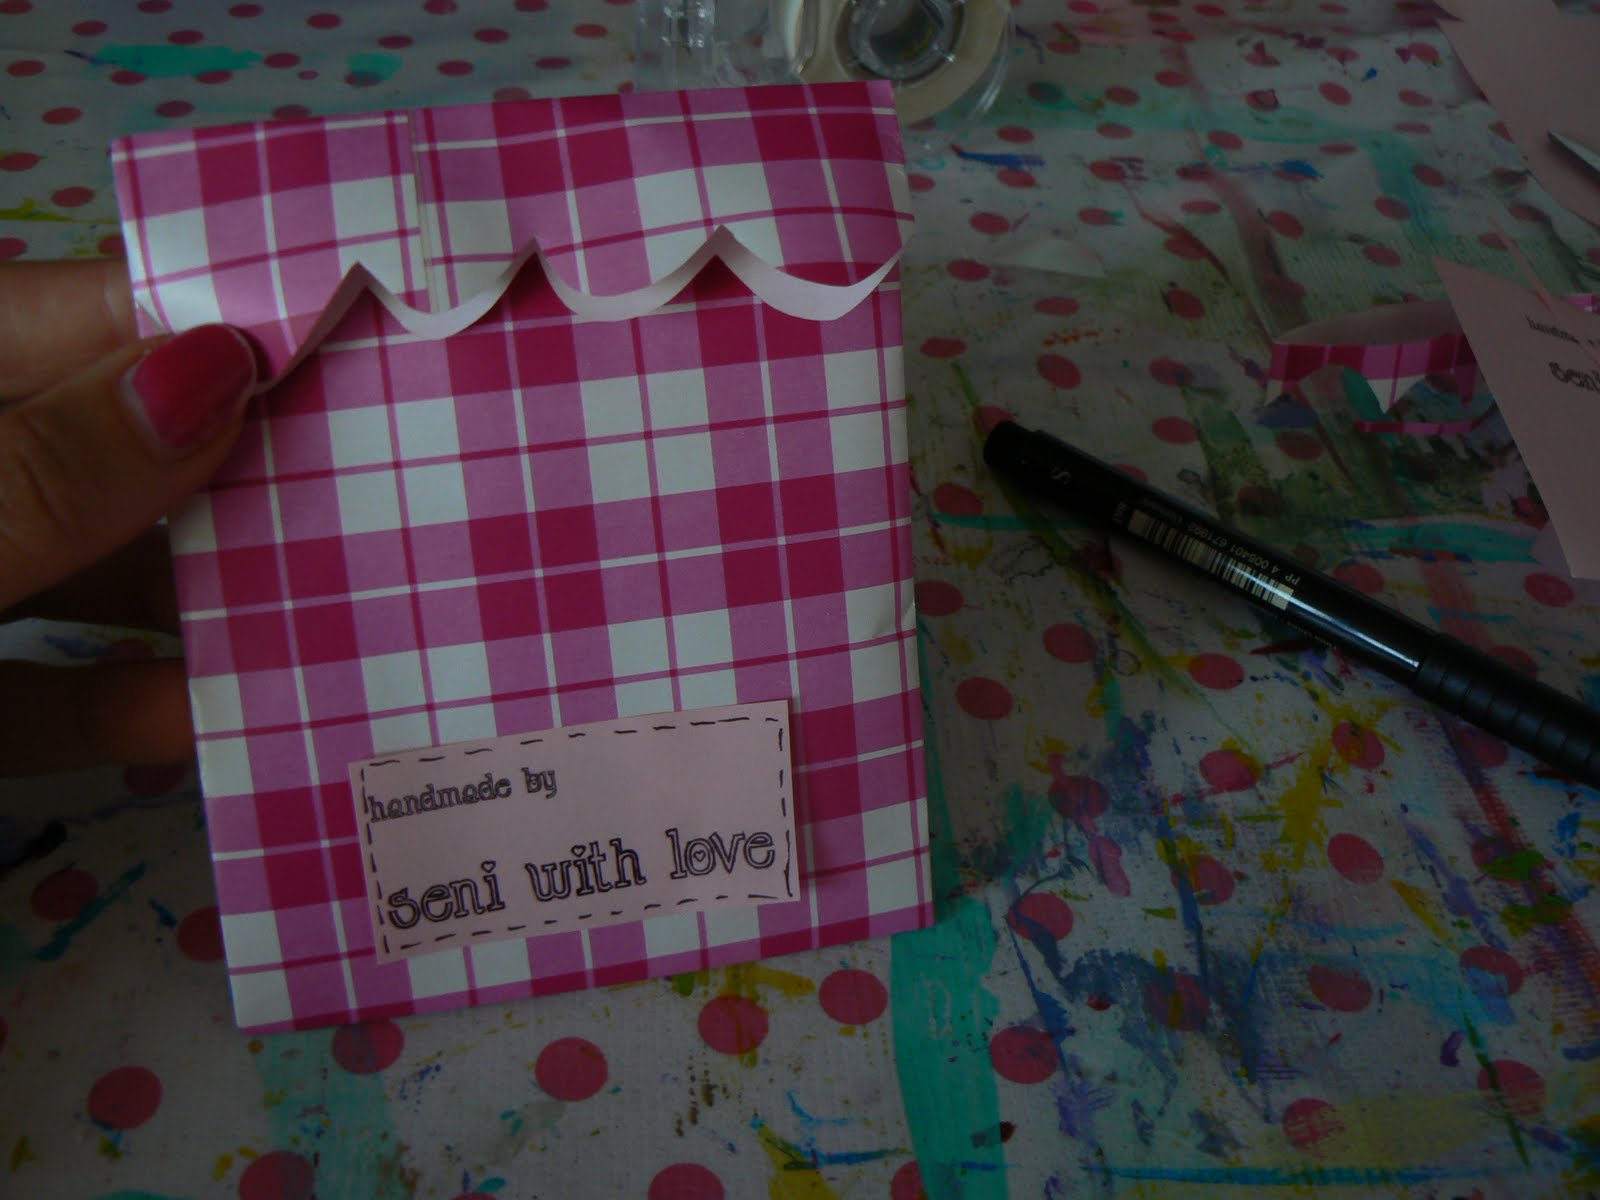
i've cut a little 'wave' on top with the siccors
& added my own 'business' card

You can use little clothespins to close it,
use a stapler and add your 'business' card there.
You can also make two holes on top and pull
a little ribbon through etc.

There are endless ways..
explore yours xD

XO. Vera

Recently Stumbled...

Do you stumble?

Sometimes I like to stumble while 'watching' football or when I have a little bit of time to kill. It can be a real time waster, because it sucks me into all of my favorite types of sites...Photography, crafting, recipes....but I can also save my favorite stuff to return to later when I have more time or I just need some inspiration. Also it keeps me in check on what I really want to look at without cluttering up my bookmarks, (I need to organize the bookmark tab on my computer, so much randomness!)

Anyway.

Here are some of my most recent finds. I think you will like them!

Pinhole Photography: 10 Paper Cameras for Photograph Purists 

Here are some amazing pinhole cameras. Check out the site for more!


30 Day Speed Creating

This guy is amazing. I love all of his creations, especially these:


Thread wrapped grapes...and some were dipped in wax. Amazing.


A colored pencil bookshelf, I love it!


Lamps made with resin, a tube sock and a balloon. Gorgeous and lovely!


I cannot stop thinking about this awesome Funion creation. Delicious and elegant.

Made By Joel

 Everything made by Joel is lovely.  He makes the simplest toys for his kids and I just love them. He even has tons of free printables.


Thanks for reading! Hope you are having a good week. I did some paper mache for my classroom today, I hope to be finished in time for next week's post!

Flowerloom ❃

A while back i bought a flowerloom, because i wanted to make vintage flowers. The instructions that i found in the box, weren't great :( So i thought i would surch on the internet, but couldn't really find a great instruction their either (except pictures from pretty flowers that we're made with the flowerloom). Finally a few days ago i found this great video over at Martha Stuarts blog and i could start making flowers. If you like to watch that video click HERE. This is the flowerloom that i have:
found here

ta da... and these are my first three!!
Once you get started it's really addictive ;)

The flowerloom is cheap and so so cute!
Just a perfect gift for yourself or for the
upcoming holidays ;)

Have fun!!

XO. Vera

A cupcake parade!

A cupcake parade!!

Last winter I taught a class about color mixing using frosting...I made up red, yellow and blue frosting for each student and let them mix the colors on a plate and then spread the frosting on to wafer cookies. It was super fun!!

When I got home I had a bunch of left over frosting so I decided to make some cupcakes. And then I had a fun photo shoot!!

Wouldn't these be great for a party?


Here are a few that I added text using Picnik. Feel free to print them on cardstock for a quick and easy card!


Hope you have a great week!
Nellie

DIY -mini fall scrapbook-

Fall is one of my favorite seasons and i've been wanting to make a mini scrapbook for a while now and i finally did and i thought it would be great to share it with you :)

DIY -mini fall scrapbook-
Everyone has his own favorite scrapbook supplies,
here are some of mine:
-crop-a-dile
-japanese tape
-feathers
-polaroids
-felt
-cute ribbons

I choose to make this mini scrapbook in a leaf shape. I wanted to be sure that my polaroid peeks would fit, so i placed one polaroid on the paper and drew a leaf around that.


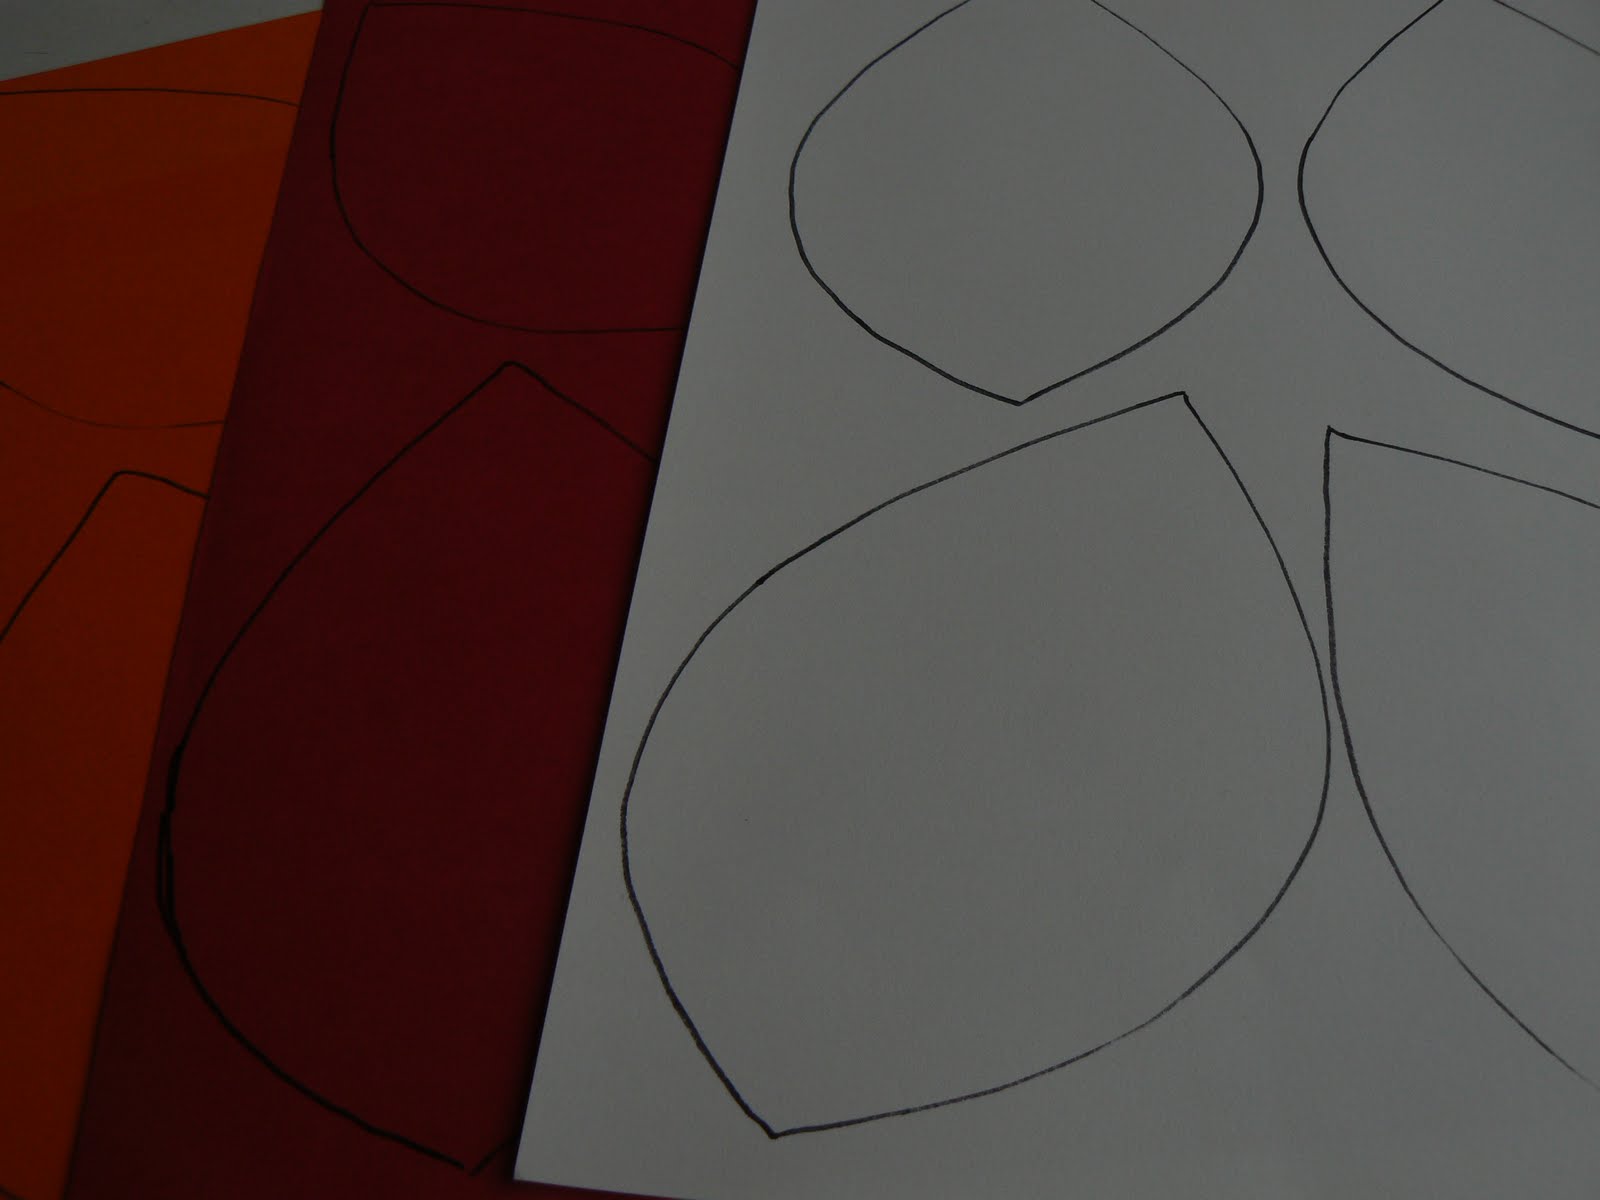
Cut out the shape you like and use the first one as a model (this way all your pages will be all the same size). I used red, white and orange paper and drew the leafs with a marker. Cut all the leafs out of your paper.

Here are all the leafs and i made one from felt. This one is going to be used as front page!
Make one hole in the top of al your leafs with your crop-a-dile.

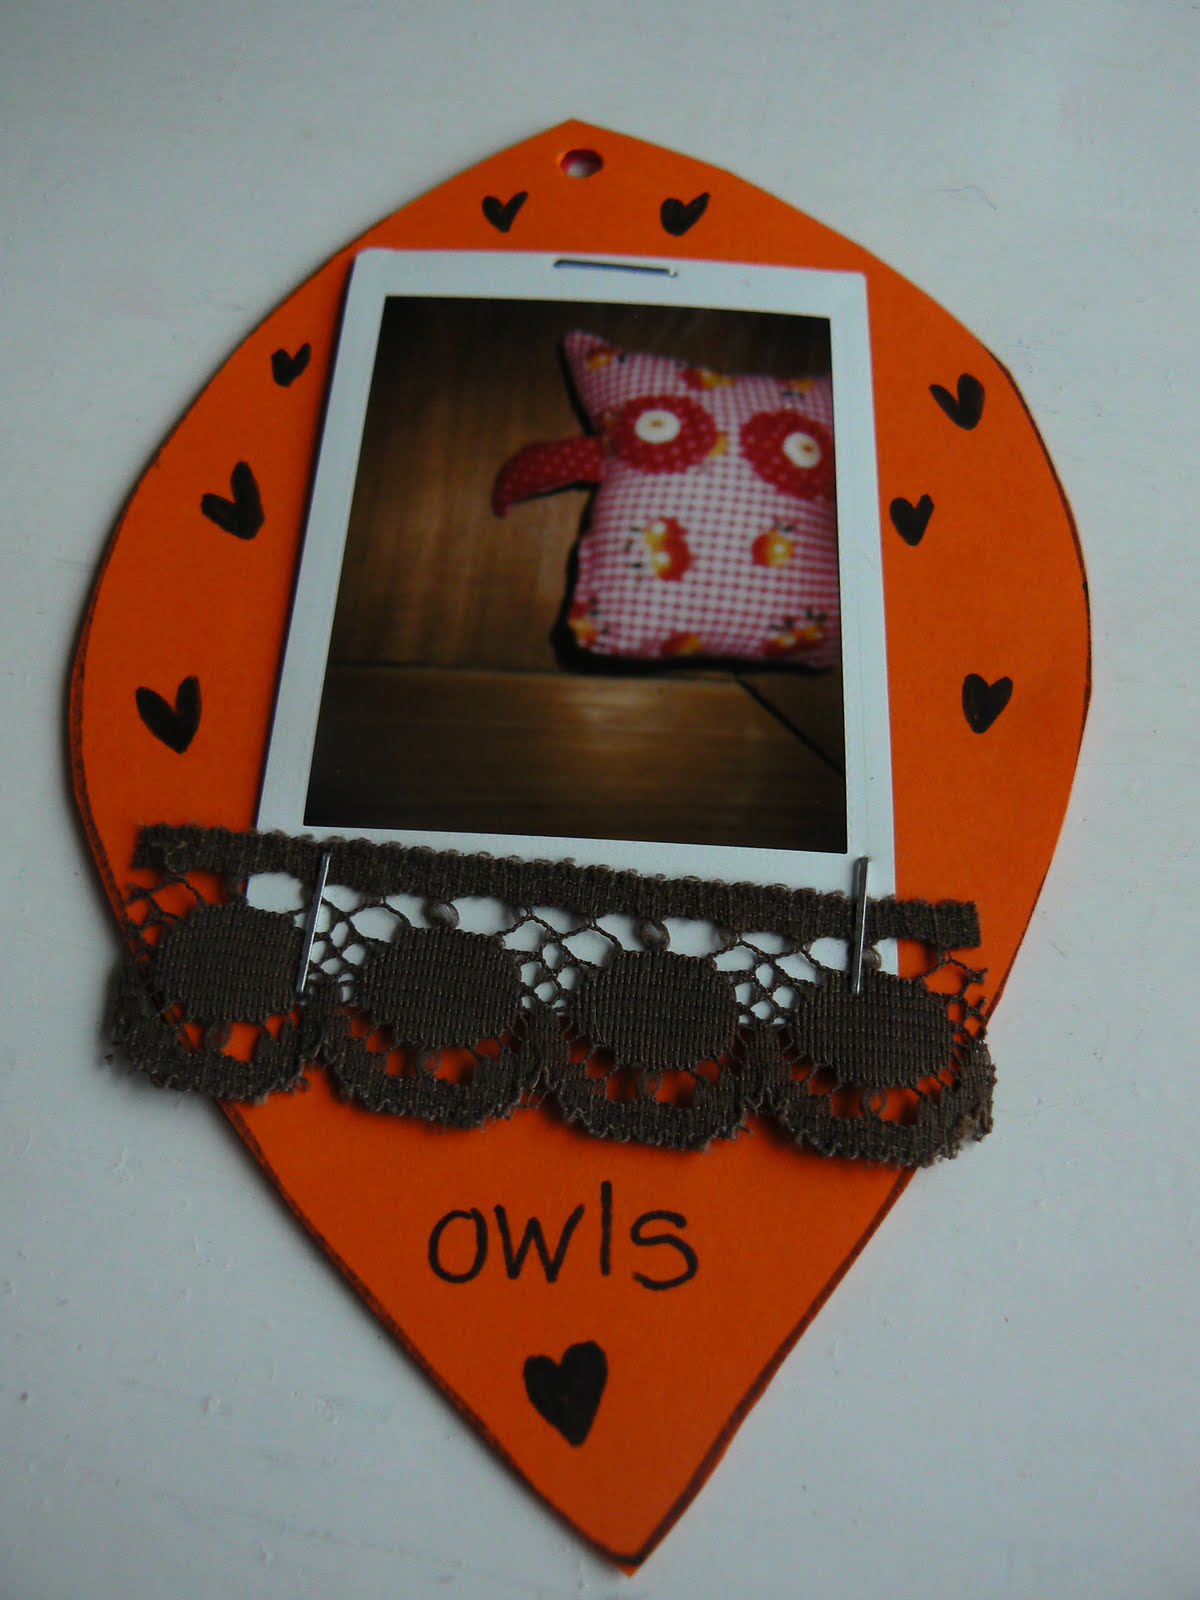
I used a cute fall decoration and stappled it with a brown piece of ribbon on to the front. I also added the month and date on the leaf! Now it's time to fill your leafs with: photos, fall decorations, favorite things to do during the fall, favorite fall recipes etc Here are a few of my pages...


When your done with your pages you can easily bind the leafs together with a cute ribbon and you are done!


Have fun making your own fall mini scrapbook!
XO. Vera