Hi Guys! & Happy Wednesday! Today I wanted to share a QUICK DIY that I put together tonight...literally typing the instructions is taking longer than this took to make!
To make this project you will need:2 pieces of background fabric - 18 inches square
1 stripe - 1.5 inches x 36 inches
1 stripe - 2.5 inches x 18 inches
1 stripe - 3.5 inches x 18 inches
Fiberfill or pillow form
Plus, the usual sewing machine, scissors, thread, straight pins, etc.
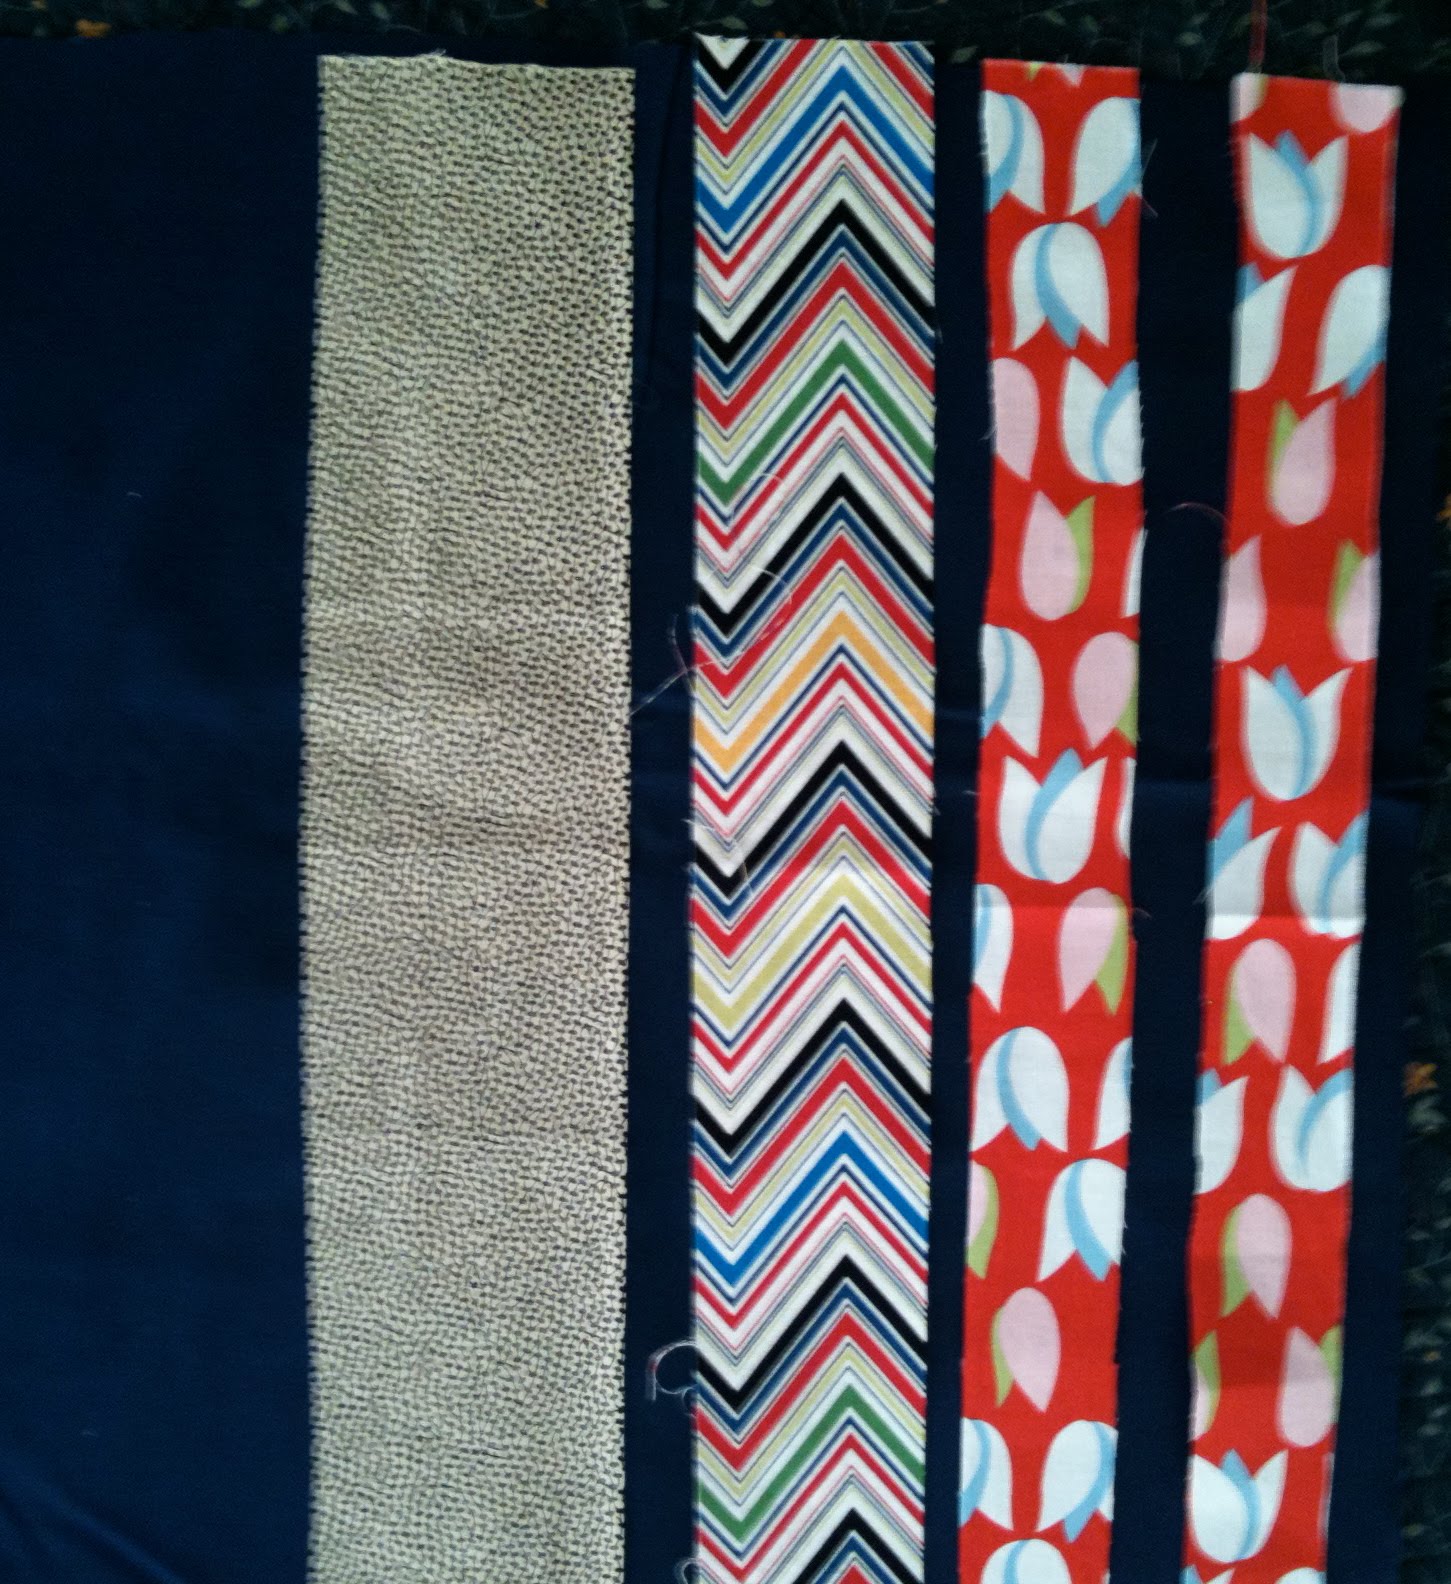
To make your own simple stripe pillow, choose fabrics, patterns, and textures that appeal to you!
{That's the most important part!}Step 1:
Take your base/background fabric and cut it to the desired size. I just used a pillow cover that I already had lying around.

Step 2:
Cut your strips (er, stripes!)...dimensions shown above.

Step 3:
Place the 3.5 inch stripe on your background fabric first. When you are happy with the placement, put the 2.5 inch strip on top of it. Secure into place with straight pins.

Step 4:
Next, sew a straight line a 1/4 inch from the edge on both sides (and on your stripes!). This will secure the two stripes into place, and my bottom stripe ended up have a nice little pucker to it.
Step 5:
Then take your longer 1.5 inch (a.k.a skinny stripe) and pin one end in place. Then work your fabric to create pleats (it's kind of like making a paper fan!) and pin each pleat in place.

Step 6:
Sew straight down the middle of your skinny stripe to secure your pleats.
Step 7:
Place right sides of your background fabric together, pin, and sew a 1/4 of an inch seam all the way around but make sure to
leave an opening so that you can turn it right side out and put your stuffing in. (sorry for the horrible picture, daylight was fading fast!)

Step 8:
Turn right side out. (
tip: use a cuticle stick or similar sharp object to push your corners out so they are tidy!)
Step 9:
Fill with fiberfill or pillow form or other stuffing of your choice and close it up! To close that opening you can hand stitch it shut, use adhesive velcro, or even glue it!

Now that this is finished, I think it would be supppppper cute on decorative pillow cases for my new bed. I'm just dying to try that out! Also, I think washing it would fray the fabric more...I'm all about texture :)
Happy crafting!