Like I promised last week, here's a fabulous DIY for you:

Let's make Polymer Clay earrings! YAY!

You will need:
Polymer Clay (Fimo) in different colours. I chose white for the cake's fondant, light brown and yellow for the filling and the flowers and a bright green for the leaves of the flowers. Feel free to use any colour you prefer. You will also need a razorblade and polymer clay tools. If you want to turn them into earrings, you will also need ear pendants and eyehooks. But we will do that later ;)

First, take a piece of white polymer clay.

Knead the clay and then roll out. Put aside!

Now, take a piece of yellow clay and form a ball.

Flatten the ball of clay.

Put aside and form a ball of light brown clay.

Flatten this ball of clay, too. Make sure it is thicker than the yellow one.

Use your razorblade to cut the light brown clay ball in half.

Like this.

Remember your yellow slice of clay?! It belongs in th middle of the two light brown slices.

Cut off as much as you want to create the size you need.

You might want to squeeze your piece a bit so it's surface is even.

Put the white polymer clay over your "cake".

Wrap it around the cake.

There will probably be much leftover.

Simply cut it off!

Use your tool to soften the edges.

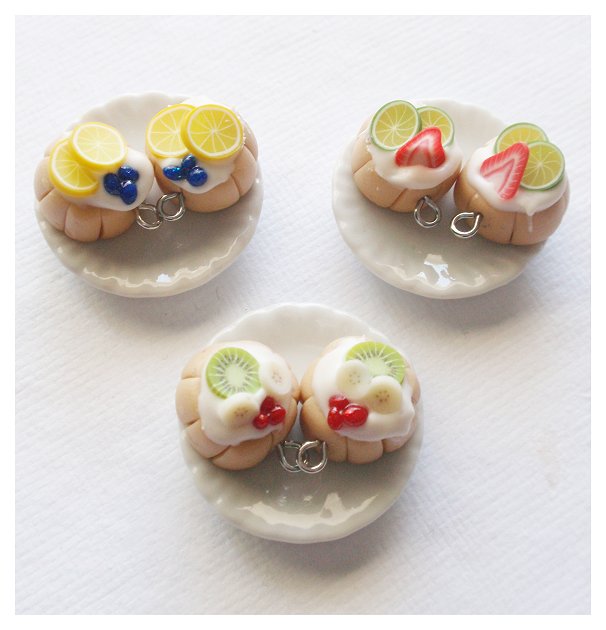
Almost looks like a real cake, right?! :D

A short tip: If you find any pieces of lint in your white clay (it gets dirty way too fast!) - take your razorblade and simply cut them off. Soften the edges with your tool again.

:)

Now, let's work on the decorations! Take a ball of yellow clay and form a snake.

Use your tool to flatten the snake.

Like this.

Wind the clay-snake until you feel your rose is big enough. Then cut off and put aside.

Make a bunch of roses.

And now, on to the leaves. Form a snake again.

Flatten it and use a toothpick to form leaves.

It might need a little bit of practice - but it's worth it.

Put the roses onto the cake.

I added 4 roses to my cake. :)

Use your razorblade to cut the cake into 4 equal pieces.


To give your cake slices a more realistic look, use a toothpick and rub over the cake slice.

See?! :)

To turn your slices into earrings, use these kind of eyehooks.

Add them to the slices' top.

Then, add these silver rings, one of them to each slice.

Like this.

The final step is to add the ear pendant and close the silver ring.

Bake the polymer clay earrings according to the instructions. If you want, you can use glossy finish to make them more shiny.
And all you have to do now is wear the earrings every day and feel happy about it! <3
I hope this tutorial was as much fun for you as it was for me. Happy crafting, loves!
xo.
Katja

