Showing posts with label felt. Show all posts

DIY -make your own fall wreath-

My post was supposed to be ready yesterday, but i didn't have time to actually make a wreath. So i waited for today to make one :) Here we go...

You will need:
- a styrofoam wreath
- pins
- scissors (and if you like pinking shears for the fabric)
- fabric (i used an old fleece blanket)

Cut the fabric in slices and roll it on to your
wreath. Make sure that there are no blank
spots in between and that it covers your wreath.
Confirm the end and if you like the beginning with
a pin. Now you have the basis of your wreath.

Instead of using a ribbon i made a crochet one

Now it depends on what sort of wreath you
would like to make! Maybe you want to make
a pompom wreath or a polaroid one... I started
making polaroids that are fall inspired but i only
have a few so far... So i decided to make a wreath
with felt leafs. It's also possible to make one with paper
leafs! I used felt in the colors: orange,
green, red and brown. I usually start cutting all
kinds of shapes, but if your not comfy that way,
just use a marker and draw leafs before you cut
them out ;) Use good scissors!


a collection of my leafs

i first used these shaped leafs
and then i used the other shaped
leafs to fill the whole wreath
i secured them with a pin and
made sure that you can't see
the pins on top.

i found some cute fall brads in my stash,
that i decided to use

i used them to secure two leafs together.

I used all the other leafs to fill
the wreath just the way i like it!
I only filled the front, but if you
like you can also fill the sides too.

Have fun wreath making!
XO. Vera

Felt and Fabric Craft Swap Goodness

Recently I signed up for a craft swap. A craft swap--yipppppeeeeee!!! The official name is the "Great Camp-Out Craft Swap" and it is sponsored by a Amanda Lester at apple blue vintage. With a camping theme in mind I started making a list of 'camp' related things I like:
campers
animals
s'mores
campfire
flashlights
tents
trees
nuts
signs
sunglasses

After looking on Etsy for camping related crafts, I was totally stumped. And then I saw someone's blog post about how they made some cool sun glass cases. I would love to share the link with you. I have spent the last hour looking at every blog in my blog roll and I cannot remember who gave the the idea or even what the original sun glass cases looked like. I did not save the original image. I barely looked at it. I just remembered that it looked easy and I started dreaming up my own way of creating the little cases using felt so that I wouldn't have to iron under a bunch of seams.

So I made up my own plan of attack.


I wish I would've made this into a DIY. But I did not. haha.

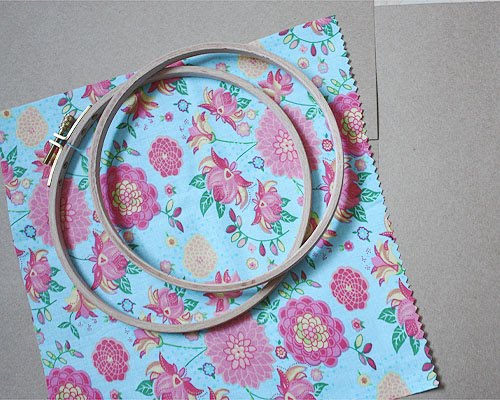
1. First I made a rough measurement of my fabric and cut out a rectangle that would fold in half and fit over my sunglasses. Since I was creating a whole bunch, I cut out all the fabric I needed at the same time.
2. I put it on a piece of felt and cut the felt slightly larger on the top end. I cut out all the felt at the same time.
3. I stitched up the edges, wrong sides together, leaving the top open. I did all the sewing for each one at the same time.
4. I turned the 'pocket' inside out. I used an iron to press it flat and in half. I also pressed the top flap down to cover the top edge of the fabric. I did all the ironing at the same time.
5. Finally, I stitched around two sides to close it up and added embellishments. It was so nice to clip off all the loose strings and glue on the flowers. This was so fun! I wish I would've used pinking sheers on this project, but I can never find my pair when I want them!

I had to make 16 for the swap, but I think I made 20 so that I could keep a few for all my sunglasses!

 Now I know you are wondering about the embellishments that I used. For the one below, I just covered a couple of buttons and stitched those on. I love covered buttons!

Below you can see another version that I made. I had the soft vintage-ish fabric above and I also had this great corduroy fabric so I decided to use both.


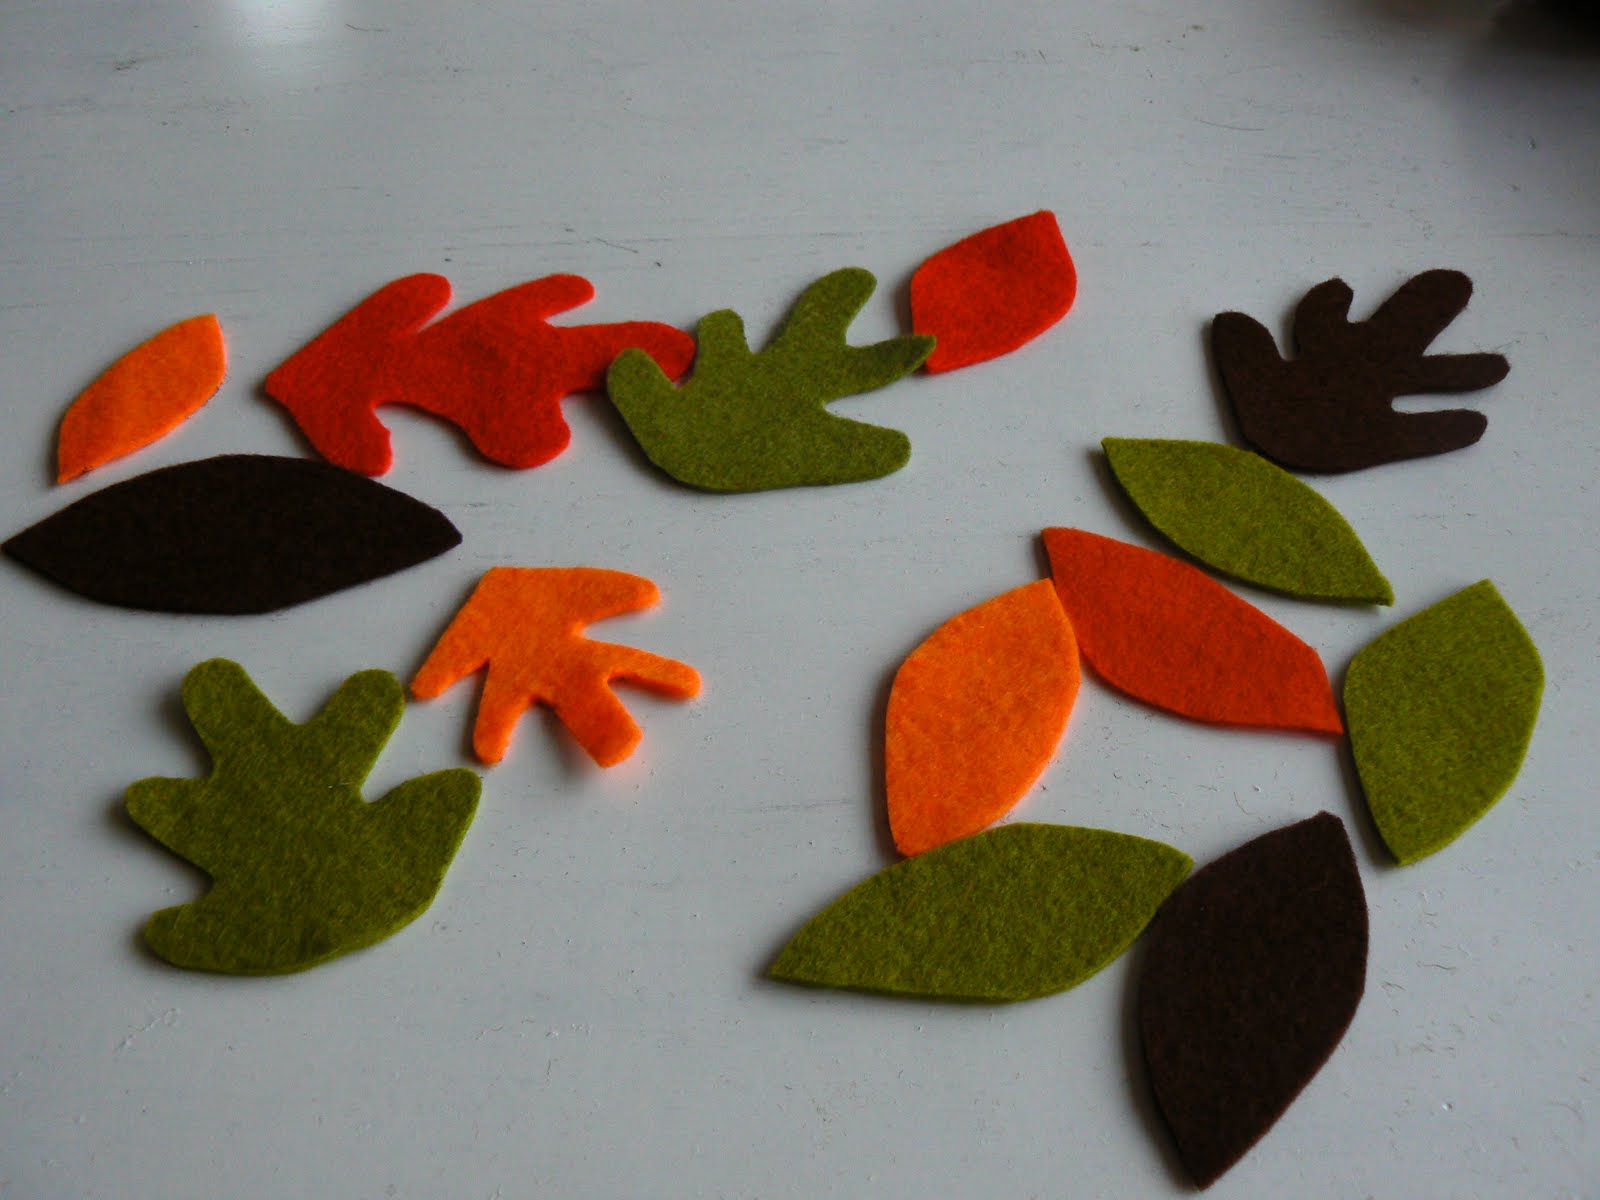
 For the felt flowers....let's see....Oh yes, a couple of months a go LollyChops (the very lovely and talented LollyChops!)  had an awesome video tutorial on felt flowers. I made a bunch but I never used them for anything. They were just trapped inside a plastic container waiting to be freed. I used fabric glue to attach them to the fabric cases and made some little felt leaves too! Total cuteness!

I hope you enjoyed this post. Stay tuned for another post later today. I didn't have time to post last Monday so I decided to do two this week!

Oh and to see what another craft swapper made, check out Run With Scissors's Janel created! Compass bows---sweet!

DIY Sunday - Embroidery Hoop Wallart


Hi there!
I know, I am a little bit late buuuut I've had an amazing day and I hope, you can accept this excuse!
No more waiting for you - here's my new DIY project:

For this cute way to display your pictures, you will need:


An embroidery hoop (I prefer the wooden ones!), fabric, white felt, scissors.


First, add the fabric to the hoop.


Then, take a sheet of white felt and cut it like a polaroid.


It's pretty simple. :)


Now, take the sewing machine and sew the polaroid pocket to the fabric. Leave the top side open.


Add it to the hoop.


Cut off the leftover at the back of the hoop.


And all you have to do now, is to add a pretty picture!


And tadaaaaaa: DONE!


Find a nice place to show everyone who comes to visit, you have a unique friend or soulmate worth showing...!


Have fun being creative!

xo.
Katja

DIY Sunday: polaroid holder

Happy Sunday everyone and welcome back to a new DIY with me!
Oh, but first: My favorite way to dress for spring?


Well, I love wearing dresses and even though I dont dress up too often, it's my favorite thing for spring! The dress above is my new favorite dress, by the way! Soooo cute! :D

But let's move on to todays' DIY!
I made a tutorial on how to sew this pretty polaroid holder:


I used fuji instax mini polaroids, but if you have a regular polaroid camera, it will work too!


So first, you will need some pretty polaroids you want to store.


Then, grab some felt, fabric leftover and a pair of scissors. You could use a sewing machine but you could also handstitch the case. :)


I used a disappearing pen to mark the measurements of the polaroids. I also added 0,5 cm to each side of the polaroid (for sewing). Cut two equal pieces!


I also wanted to sew a tiny heart to the case, so I took some leftover fabric and my disappearing pen and drew a heart on it and then I cut it out. Of course! :)


Next, I sew the heart to the felt.


Done! :) The next step is the final one - you see it's another very quick DIY!


Lay the two pieces of felt onto each other and sew around them. Make sure you leave the top open! :)


Now, simply put the polaroids in the holder and feel free to carry it around with you wherever you may go!


Hope you liked this DIY and if you do.... let me know!


xo.
Katja

i heart you moustache

Welcome again :) My flower DIY's are done, so i had to come up with a new idea for my topic :) It's always fun to think about different themes and make a cute post about it! For today it's al about moustaches :) I first saw the moustaches on Elsie's blog and at the Red Velvet Art online shop. I'll have to admit that in the beginnin' it wasn't really my thing.... but i'm beginnin' to love them more and more :)

paint a cute moustache on your moleskine

felt moustaches on a rubber


printable moustaches from Elsie, look here!

I've found a lot of cute pictures on weheartit. If you look closer it's also possible to make it yourself ;) Just make it in your own style and paint them on your own books, canvas, mugs, tshirt, underwear etc.


paint your coffeecups


a cute embroidery moustache


I hope that you feel inspired by it :) If you have made a cute moustache, inspire others by sharing this on our flickr group :D I'm off to make some moustaches ha ha :D XOXO.