DIY -mini fall scrapbook-

Everyone has his own favorite scrapbook supplies,
here are some of mine:
-crop-a-dile
-japanese tape
-feathers
-polaroids
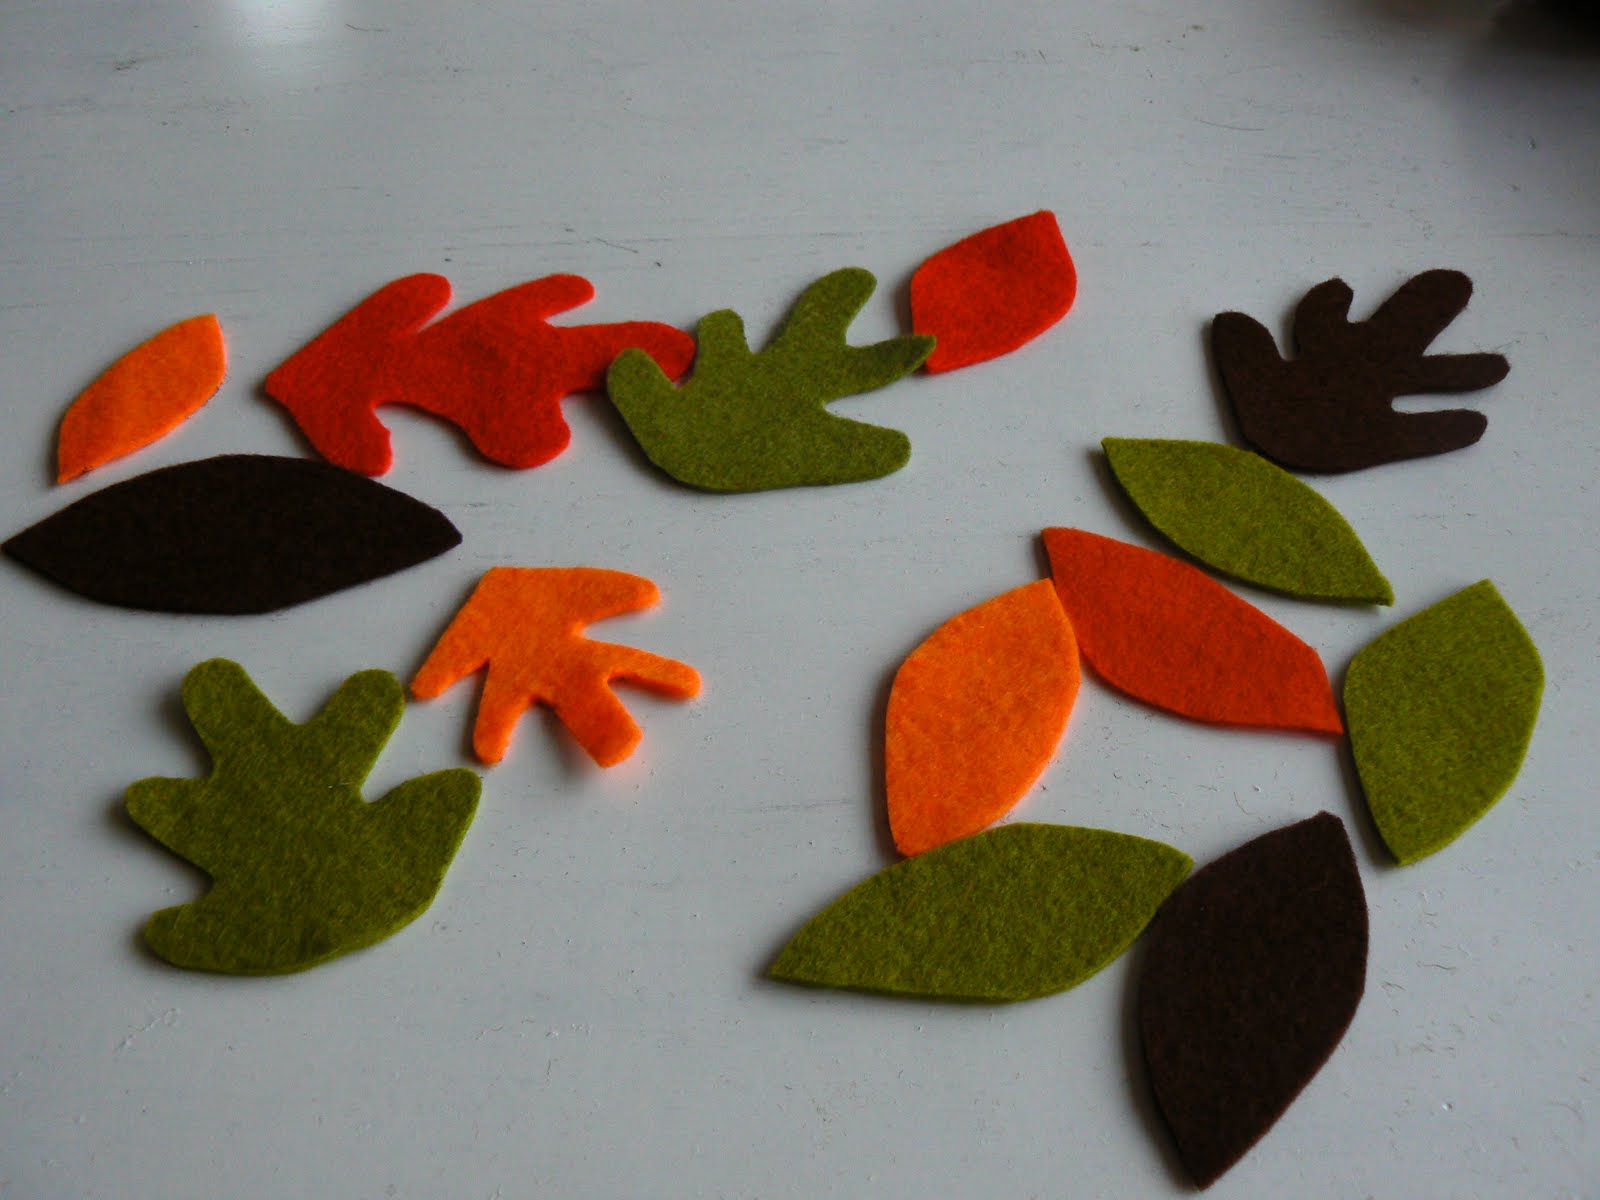
-felt
-cute ribbons

I choose to make this mini scrapbook in a leaf shape. I wanted to be sure that my polaroid peeks would fit, so i placed one polaroid on the paper and drew a leaf around that.
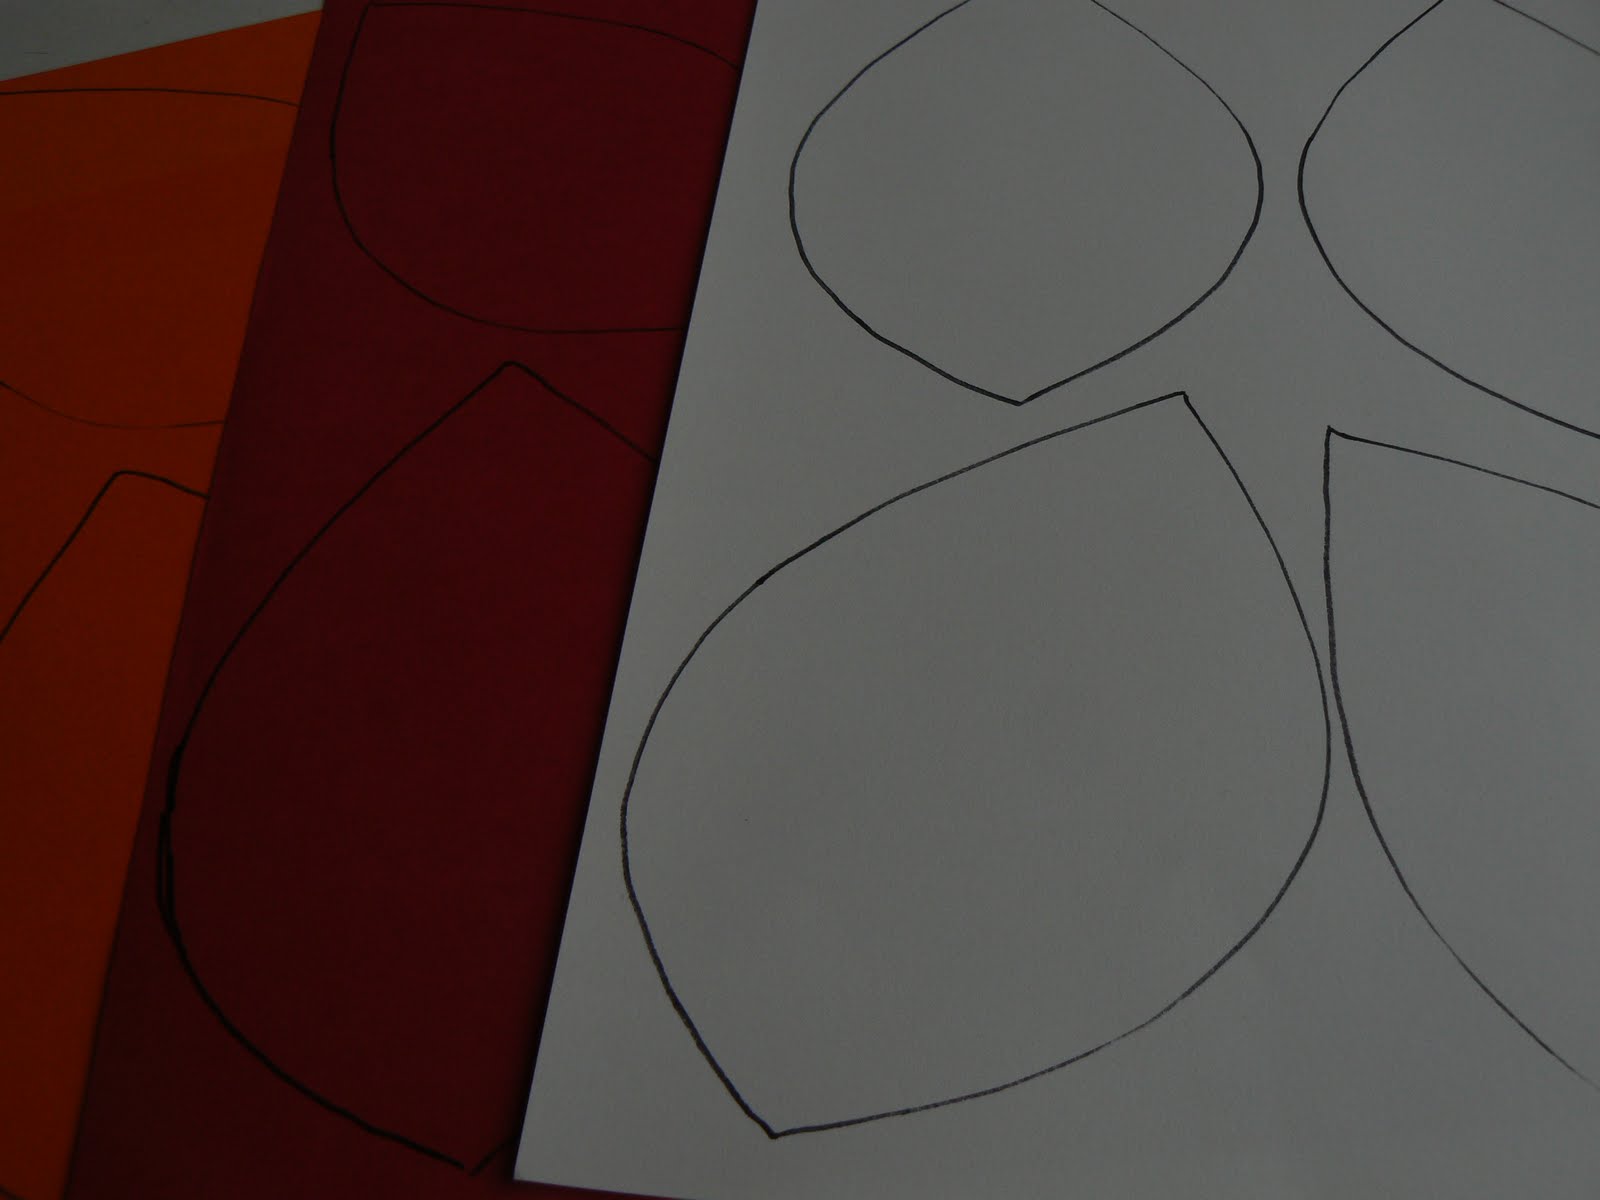
Cut out the shape you like and use the first one as a model (this way all your pages will be all the same size). I used red, white and orange paper and drew the leafs with a marker. Cut all the leafs out of your paper.
 Here are all the leafs and i made one from felt. This one is going to be used as front page!
 Make one hole in the top of al your leafs with your crop-a-dile.
 I used a cute fall decoration and stappled it with a brown piece of ribbon on to the front. I also added the month and date on the leaf! Now it's time to fill your leafs with: photos, fall decorations, favorite things to do during the fall, favorite fall recipes etc Here are a few of my pages...


 When your done with your pages you can easily bind the leafs together with a cute ribbon and you are done!
Have fun making your own fall mini scrapbook!
XO. Vera