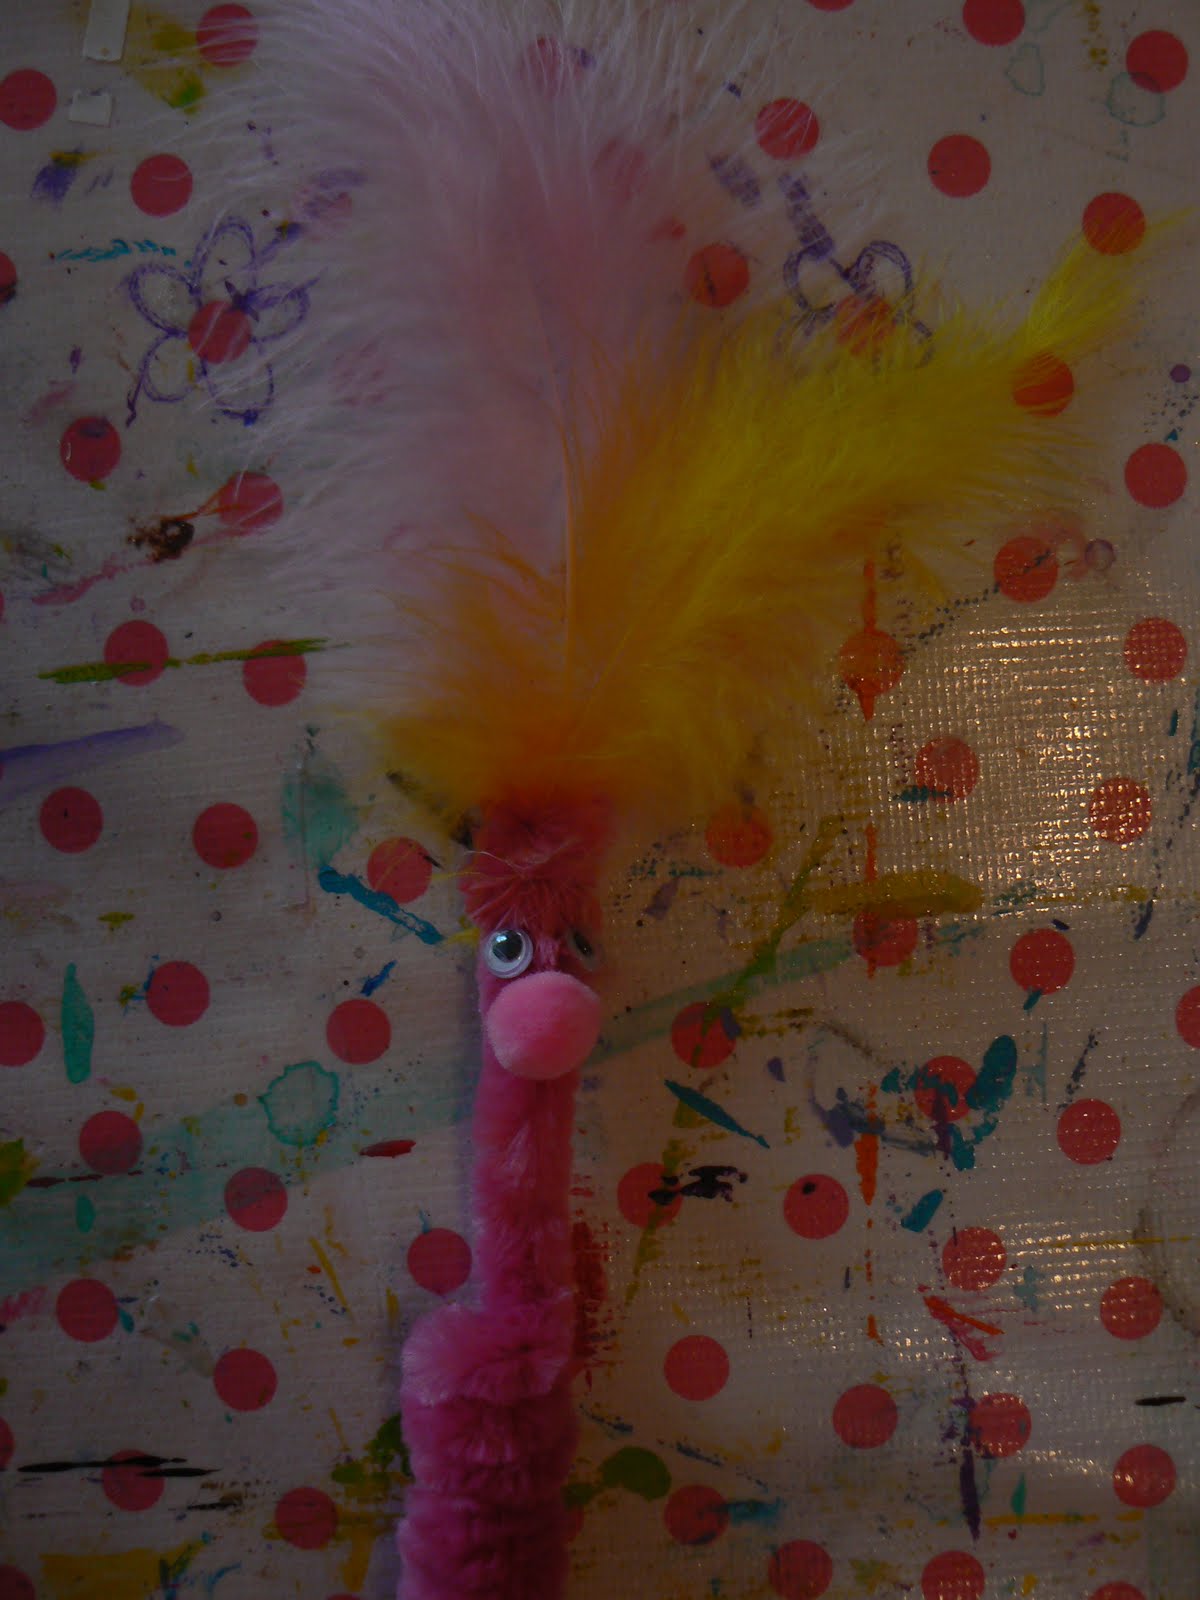
DIY -happy pencil-

It was a quiet week over at the birds blog and unfortunately i couldn't find the time to make a pretty DIY post, but today i have one for you! This one is very easy and just perfect for a little (holiday) gift or you can just make these pencils for fun with your kids or at a children party!

DIY -happy pencil-
Supplies:
- chenille thread (thick or small)
- feathers
- pencil(s)
- crafting glue
- (little) pompoms

1. first wrap the chenille thread around the
end of your pencil (make sure it's tight, so that
it doesn't fall off!)

2 Grap the other end and make a little round,
put the feathers in the hole and confirm it tight.
I wrapped it around the other chenille thread,
because in my opinion it better secure this way!

3 time to glue the eyes and nose on!

4. your pencil is ready to be used!

aren't i sweet?

Have fun crafting!

XO. Vera

DIY Sunday: Magical fairy lights.

Happy Sunday, loves!

I love fairy lights and since their name is already magical, I wanted to make them more magical...:

fairy 10,

To bring some magic to your rooms, it takes

fairy 1

Fairy lights (I’d suggest using LED lights because the regular lights will get hot and that’s dangerous with the paper etc.)

Cupcake cups in different colours and sizes

Scalpel or Scissors

fairy 2

fairy 3

First, take a cupcake cup.

fairy 4

Use the scalpel to

fairy 6

cut an “X” into the base of the cupcake cup.

fairy 7

Then, plug the bulp of the fairy light through the “X”.

fairy 8

Cover all bulps with cupcake cups.

fairy 9

And bring some pretty magic to your room!

I know it’s a small project, but believe me: It’s SO much fun!!!!! <3

Hope, you enjoyed this cute little tutorial....

Love you all,

Katja

DIY -make your own fall wreath-

My post was supposed to be ready yesterday, but i didn't have time to actually make a wreath. So i waited for today to make one :) Here we go...

You will need:
- a styrofoam wreath
- pins
- scissors (and if you like pinking shears for the fabric)
- fabric (i used an old fleece blanket)

Cut the fabric in slices and roll it on to your
wreath. Make sure that there are no blank
spots in between and that it covers your wreath.
Confirm the end and if you like the beginning with
a pin. Now you have the basis of your wreath.

Instead of using a ribbon i made a crochet one

Now it depends on what sort of wreath you
would like to make! Maybe you want to make
a pompom wreath or a polaroid one... I started
making polaroids that are fall inspired but i only
have a few so far... So i decided to make a wreath
with felt leafs. It's also possible to make one with paper
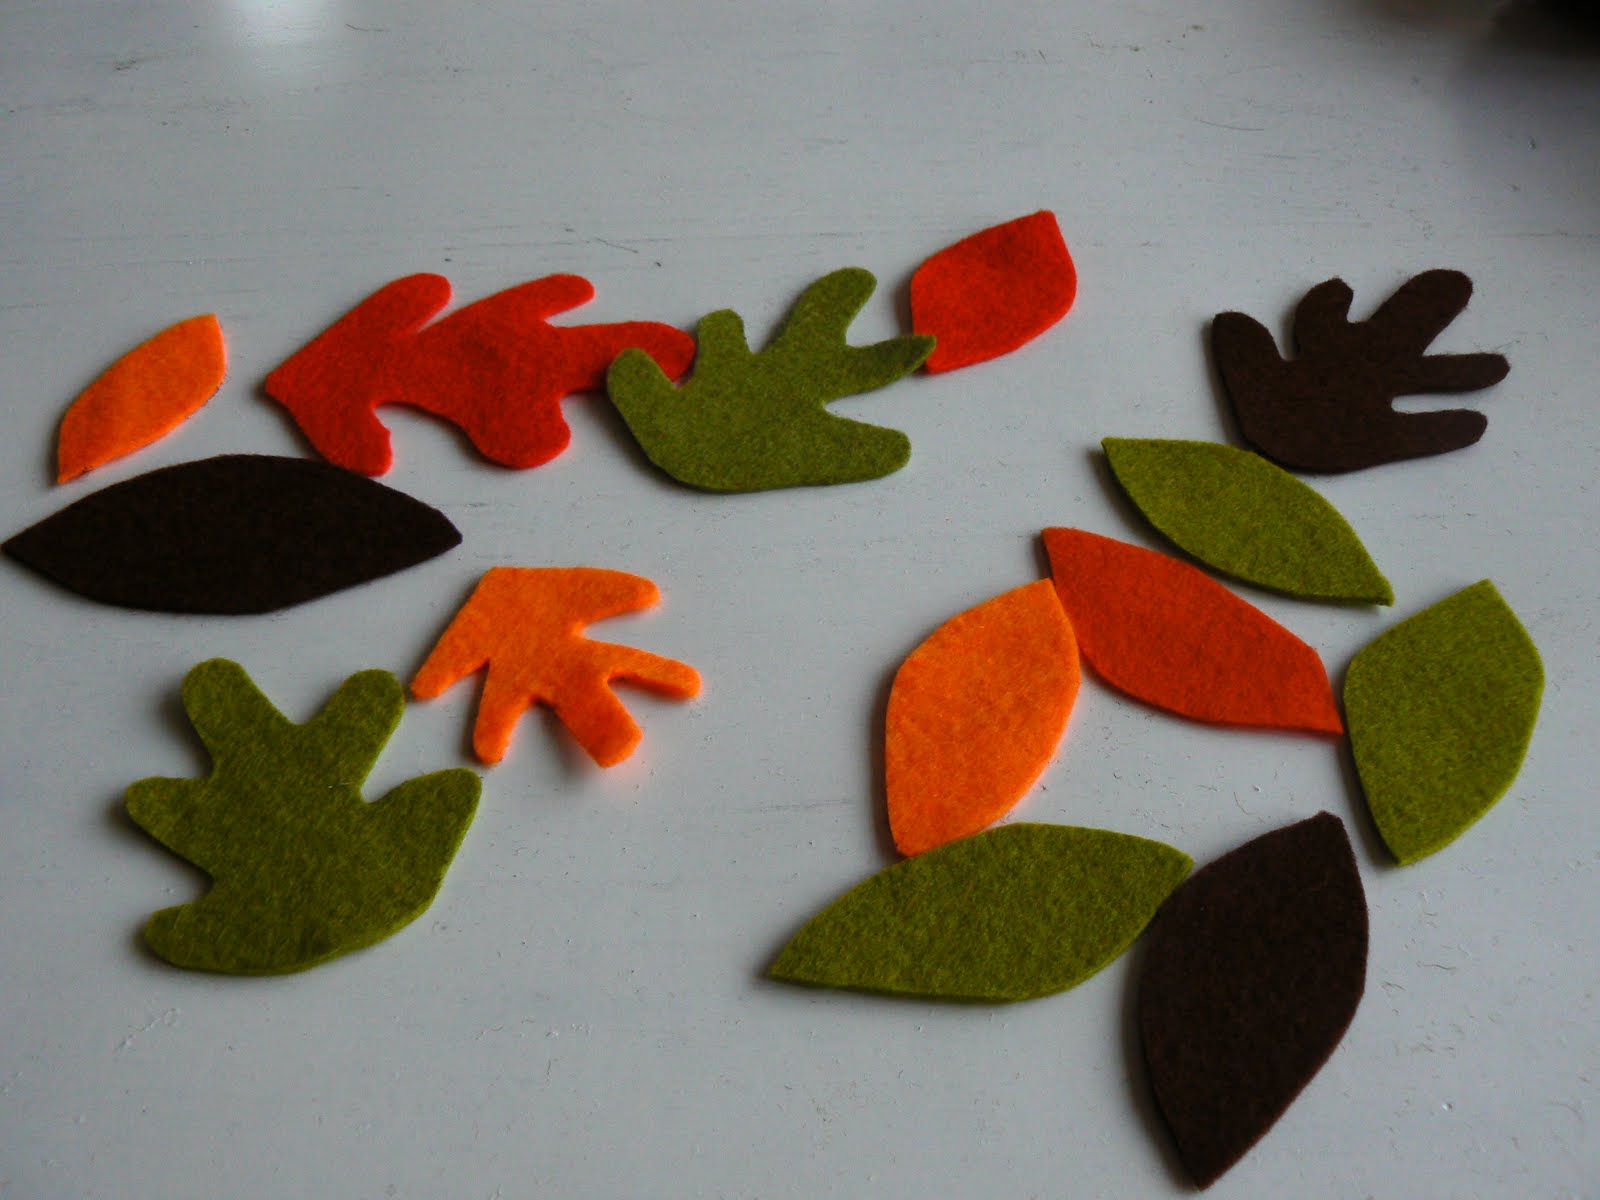
leafs! I used felt in the colors: orange,
green, red and brown. I usually start cutting all
kinds of shapes, but if your not comfy that way,
just use a marker and draw leafs before you cut
them out ;) Use good scissors!


a collection of my leafs

i first used these shaped leafs
and then i used the other shaped
leafs to fill the whole wreath
i secured them with a pin and
made sure that you can't see
the pins on top.

i found some cute fall brads in my stash,
that i decided to use

i used them to secure two leafs together.

I used all the other leafs to fill
the wreath just the way i like it!
I only filled the front, but if you
like you can also fill the sides too.

Have fun wreath making!
XO. Vera
Happy Sunday , lovelies!
Today, I have a tutorial waiting for you…

owl00

You will need:

owl1

Felt

fabric scraps

thread and needle

scissors

keychain

First, download, print and cut out the owl pattern ;D

owl2

Then, cut out two pieces of the body.

owl3

Then, use fabric to cut out the wings.

owl4

Now, you can cut out a half circle of a different colour of felt.

owl5

See? :)

owl6

Sew it to the body.

owl7

owl8

Then, add the wings.

owl9

And two buttons for the eyes.

owl10

Already looks cute, right?

owl11

Now, cut a triangle to make the beak.

owl12

Now, cut a strap from the felt to use it as the hanger…. Also take the second body piece….

owl13

and start sewing both pieces together.

owl14

Don’t forget to add the hanger!!!!

owl15

If you have been sewing halfway round the body, stuff the owl.

owl16

Keep sewing around it and now… you are done! :) HAHA!

HOOT HOOT!

Loves,

Katja

DIY -crafting (with) leafs-

Autumn is arriving and the leafs are already falling down, so for today i have two easy fall DIY's for you. You can make these with your kid(s) on a rainy day, but make sure to collect the leafs before, so that they are dry and not to curly. You can click on the image to make it bigger, so all you have to do is copy it and fix it at your own size.

DIY 1 -making a leaf owl-

You will need:
- to print out this owl
-leafs
- glue
-scissors
- yarn


  1. cut out the owl
  2. use glue on your owl
  3. take your leaf and rub on it, so that little pieces will fall off
  4. if you need more leafs to fill the paper do so and make sure they are sticking to your paper
  5. use two pretty leafs that can be used as the wings of the owl
  6. you can also decorate the back of the owl with little pieces of leafs
  7. make a little opening in the head of the owl
  8. pull yarn through and tigh it together
DIY 2 -fold your own leafs-

You will need:
-folding paper
-scissors
-glue

I have a few pretty folding books for kids,
that i've been using over the years at school.
This idea is from the book 'Het grote
vouwboek deel 2' (it's a Dutch book).
This one is very easy, i made those leafs
last year with 4/5/6 year old kids. The smaller
kids need some more assistence with folding and
cutting ;) Have fun!

step 1
You can use different sizes of folding paper and
any color that you prefer. If your kid likes purple
leafs, go with it ;)

fold it through half, open and half again and open

step 2
fold until the middle
step 3
fold the other side to the middle
and open your paper

step 4
turn your paper and repeat step 2 and 3

step 5
fold open and if you have done it right,
you will have 16 squares

step 6
fold the right downside to the middle, like this

step 7
use your sciccors to make two little cuts
stop at the verticale line

step 8
fold your paper like this

step 9
and fold the one above the same way

step 10
take your scissors again and cut 2 lines
again and stop at the horizontale line

step 11
fold them just like you did at step 8 and 9

step 12
turn your leaf ;)
to finish you can glue a little brown
piece on the bottem.

You can glue them on paper, hang them
on your window or make a garland
from several folded leafs!

Happy crafting!

XO. Vera