

found here

ta da... and these are my first three!!
Once you get started it's really addictive ;)
The flowerloom is cheap and so so cute!
Just a perfect gift for yourself or for the
upcoming holidays ;)
Have fun!!
XO. Vera


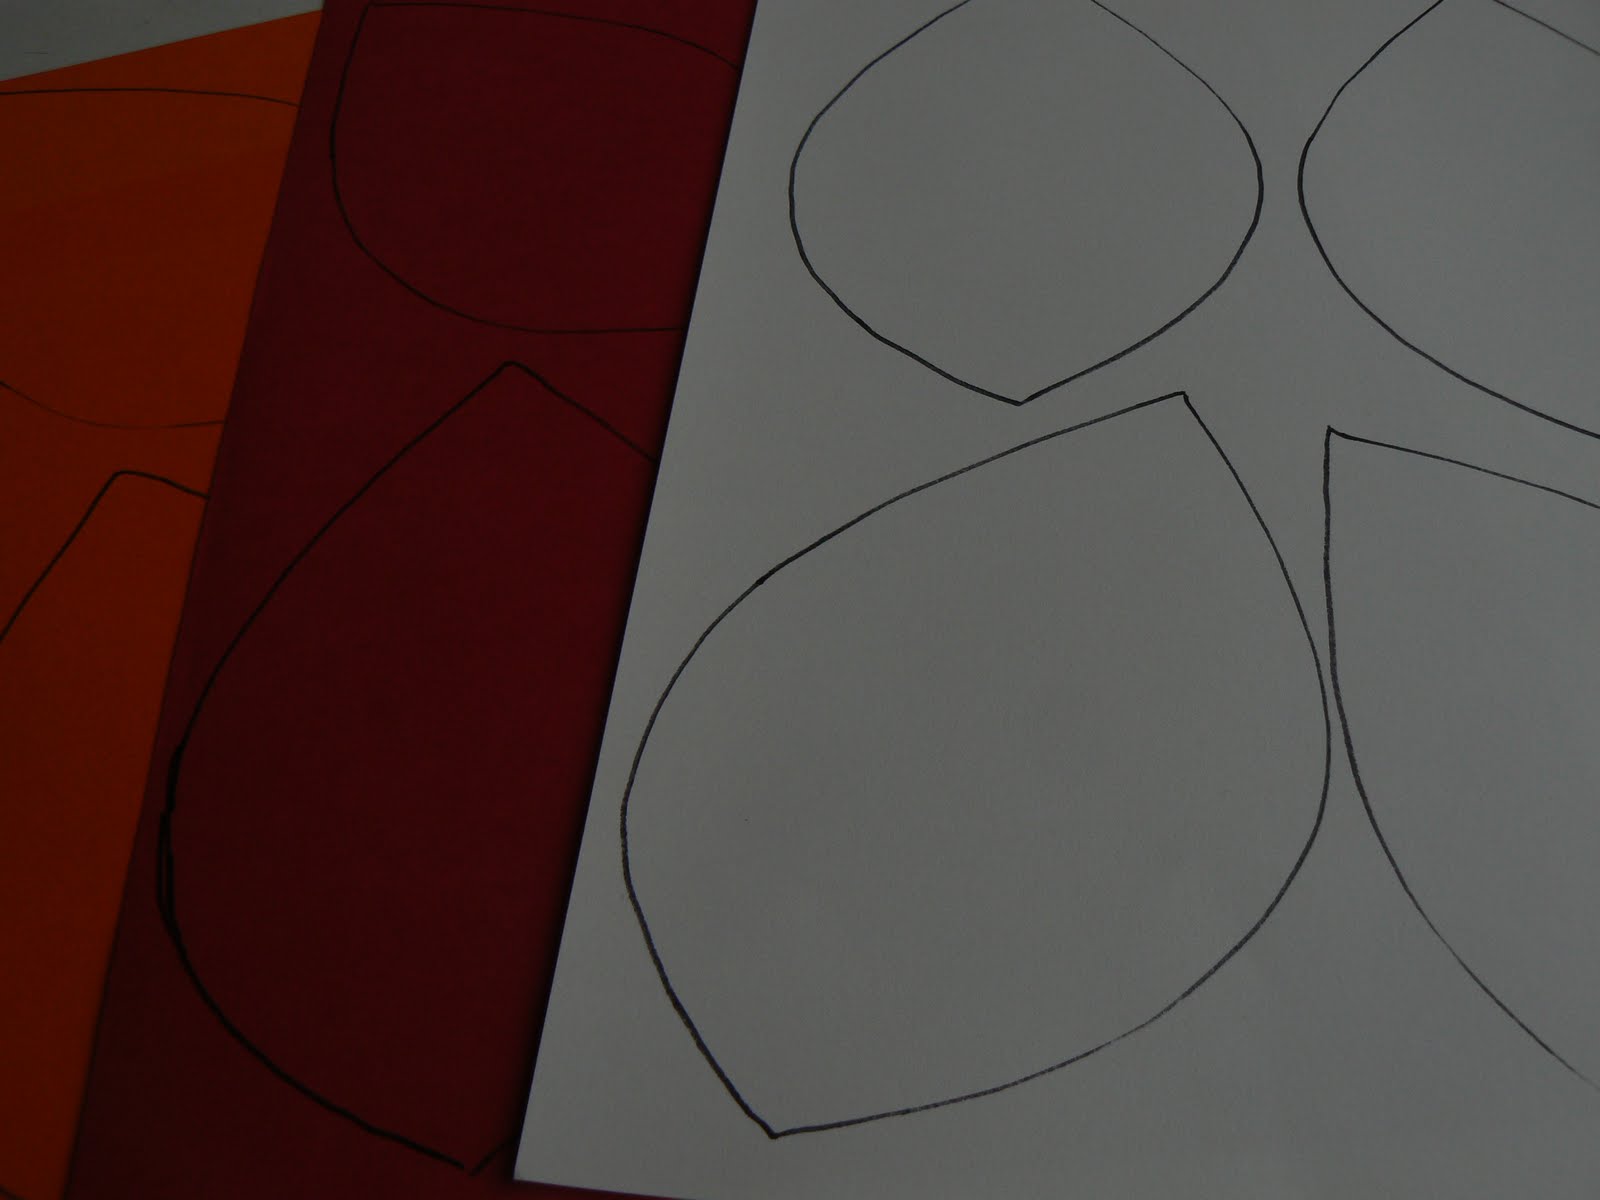
 Here are all the leafs and i made one from felt. This one is going to be used as front page!
  I used a cute fall decoration and stappled it with a brown piece of ribbon on to the front. I also added the month and date on the leaf! Now it's time to fill your leafs with: photos, fall decorations, favorite things to do during the fall, favorite fall recipes etc Here are a few of my pages...


 When your done with your pages you can easily bind the leafs together with a cute ribbon and you are done!

Happy Sunday!
I loooove journaling lately – and this is my special way of journaling!
It’s a happy thoughts journal where you can store your happy memories….

What you'll need:
A journal

I chose a mini album with a “window” at the front side

and blank white pages inside!
But you choose your kind of journal.
You will also need some cute fabric and decoration material (like ribbons etc), things that make you happy (photos….)!

First, lay your journal on the fabric and trace the outlines.

I decided to only use fabric to cover the front side of my journal.

The tricky thing about my journal was the “window” – I traced the outlines of it too and then cut an X from one side to the other.

I used glue to fix the fabric to the inside of the front page.

See?

Now that the fabric is fixed to the inside of the “window”, use glue again to fix the overlaying fabric to the inside.

You need to fold the right side of the fabric so the spiral binding can still be used.


Start decorating the outside of your pretty journal <3

I used a cute leather-flower-decoration ribbon

and Alphabet stickers.

It says HAPPY ![]()

I thought, some decoration on the window would be pretty.

So I printed out a pretty picture and glued it to the window

Then, I glued the first page of the journal to it.

Isn’t that pretty?! ![]()

Now, onto the pages….Start making this journal your own and add some pretty decoation and pictures and colourful paper!


Have fun crafting this cue cute CUTE journal! Make it your own, get creative <3
Love yous,