Google the term 'Butterfly Mobile' and you get an enormous response with gorgeous examples of butterfly mobiles that would be perfect for a nursery, kids room or birthday party decoration. I have seen many versions of this basic idea starting with the 'no longer available' white butterfly chandelier from pottery barn kids:
Project nursery has a great DIY based on this white version too:
Craftstylish has a great idea for using fabric butterflies to create a mobile for a wedding decor item:
Mimi Bella Boo has a great way to create a mobile using sticks as the hangers:
I always love to see the creativity with felt over at Bugs and Fishes by Lupin:
Ali Edwards has a version of the butterfly mobile:
I selected some of my favorite versions and these are only a few of the varieties out there!
(p.s. Paper Craft magazine has a very simple version in their magazine this month) I will not be taking credit for making this post into a DIY.....I just wanted to show you my inspiration and what I created based on all of the ideas out there!
Okay so I have seen this idea zillions of places. Anyway, my friend commissioned me to create a large canvas butterfly collage for her. I hand cut a bunch of butterflies and punched out a bunch more. I painted the large canvas, adhered the butterflies with glue dots, covered over the entire surface with modge podge, let it dry. Viola! A gorgeous butterfly collage that I am sure my friend will love--it is for her daughter's room!
When I was finished with the collage, I had some small punched butterflies left over so I decided to make a mobile with them.
I had a small blue emboridery hoop, and my sewing machine.
I made strands of garland and then I tied them along the hoop.
Viola! A gorgeous butterfly mobile that I plan to surprise my friend with!!
I had a lot of fun sewing the garland and I know it is something I will do again....
Design Sponge has a great idea for using this same sewing technique to decorate packages!
Hope you enjoyed this post. If you decide to make something similar, post a link in the comments, I would love to see what you create!
Sunday inspiration: Polymer Clay Art
Hi everyone!
Since I didn't have the time to create a cute DIY, I thought it would be fun sharing polymer clay ideas. :) I love working with polymer clay- it was my first "craft adventure", 1.5 years ago. And I realized how great polymer clay is!!!! Just see what you can build with polymer clay:
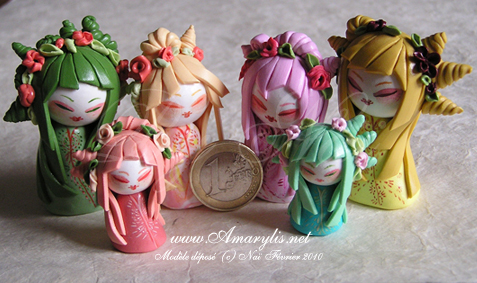
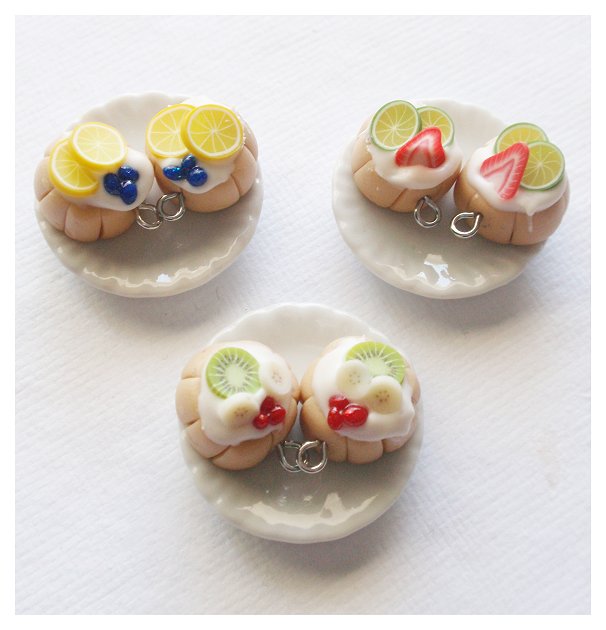
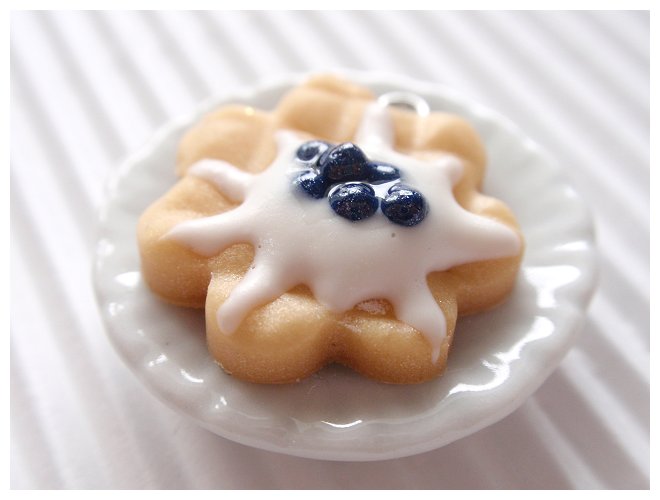
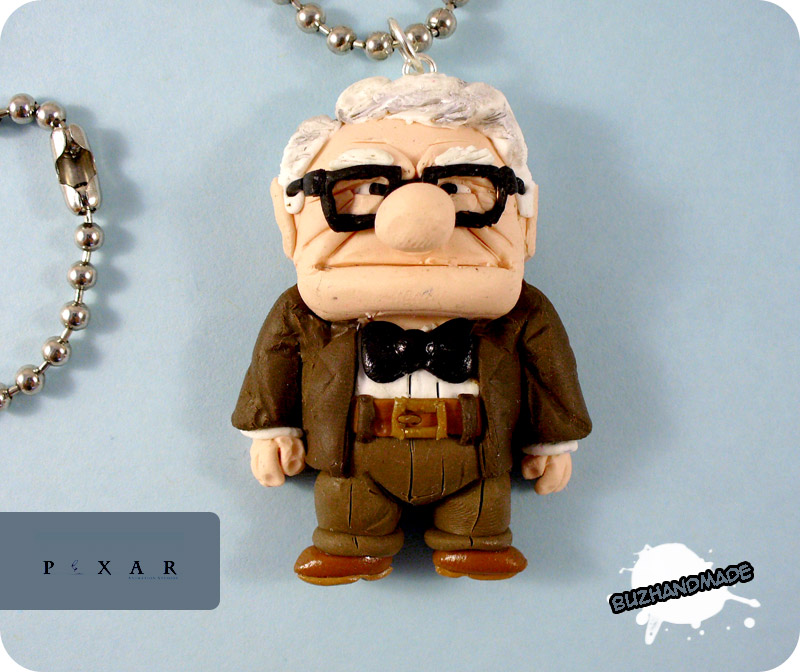
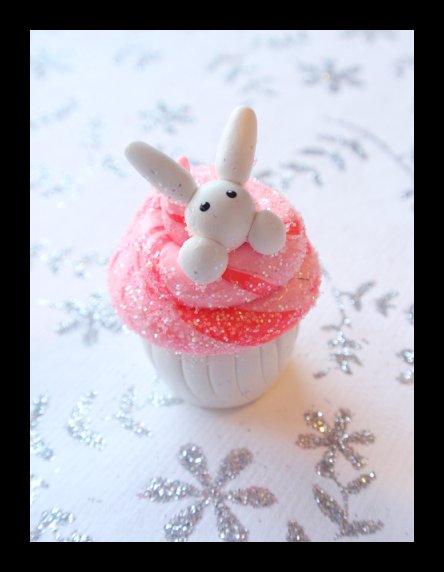
I am especially impressed by miniature food:
(all pictures taken from "PetitPlat by sk_" 's photostream.)
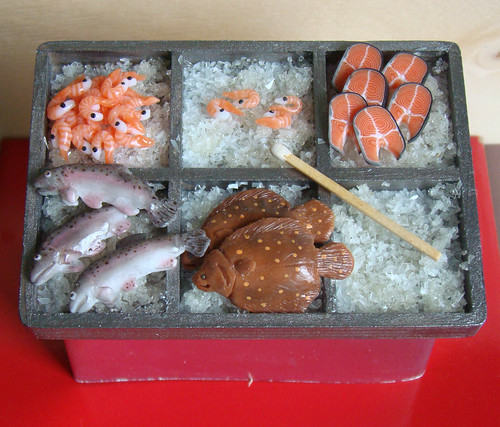


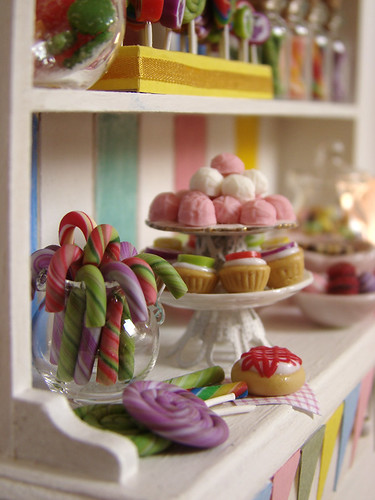
Don't be too disappointed about the missing DIY! There will be a fabulous one next Sunday! :)
Love yous,
Katja
PS: In the meantime - I have a DIY on my blog about polymer clay cupcakes!
Since I didn't have the time to create a cute DIY, I thought it would be fun sharing polymer clay ideas. :) I love working with polymer clay- it was my first "craft adventure", 1.5 years ago. And I realized how great polymer clay is!!!! Just see what you can build with polymer clay:


I am especially impressed by miniature food:
(all pictures taken from "PetitPlat by sk_" 's photostream.)


Don't be too disappointed about the missing DIY! There will be a fabulous one next Sunday! :)
Love yous,
Katja
PS: In the meantime - I have a DIY on my blog about polymer clay cupcakes!
Labels:
cute,
Katja,
miniature,
polymer clay
Feeling a little blue...
you know, like summer skies, cool water, and pretty dresses! ;)
Who's ready for summer? :)
On a personal note, my friend and I have started online craft classes called Craft Academy. Our first class - Summer Lovin' - starts in June, and registration is already open! I'm so excited, but reeeally busy!! So please excuse me if I seem a little frazzled ^_^
(images from weheartit!)
Labels:
aj,
color,
inspiration
DIY -Pimp your little suitcase-
Hi :) I hope you are still enjoying our creative blog. For today i have a DIY project for you! I have a few little suitcases in differents sizes at home & i wanted to use one for all my (handmade) buttons. I thought it would be cute to draw on the suitcase, so that you can see what's hidden there ;) I'm always sort of scared to start drawing on something. What if i make a mistake, is it pretty enough etc Lately i feel more confident to just do it and i did it again today, yay!
You will need:
-a little suitcase (make sure the underlay isn't to smooth, or else you will wipe out the drawing)
If you don't feel confident drawing on the suitcase, you can also add shiny (sticky) stones with flowers, butterflies, stars etc. Kids would love to make such a pretty magical box, where they can put there secrets in xD More ideas: use colored tape, put a picture on top, use felt etc. I like to see what you come up with! Show us in the flickr group here
Amigurumi Body Base
Hello everyone! Today I'm going to share a simple crochet pattern that I wrote for a basic amigurumi body.

[Please note: I wrote this pattern from memory, so it's largely untested. If you come across any mistakes, please let me know and I will fix them!]
Amigurumi Body Base
Skills needed: magic ring, crochet in the round, single crochet, increase and decrease
Yarn: Red Heart acrylic
Hook size: F/3.75 mm
Begin with the body color. I used black for this example, but use either a flesh tone (if adding fabric clothes) or the color you want the person's pants to be.)
1. Start with six single crochet stitches in a magic ring.
2. Single crochet twice in each stitch around, increasing to 12.
3. *Single crochet once, then single crochet twice in the next stitch.* Repeat ** six times, increasing to 18.
4. Single crochet once in the back loop of each stitch around.
5. Single crochet once in each stitch around.
6. *Single crochet twice, then single crochet twice in the next stitch.* Repeat ** six times, increasing to 24.
7-13. Single crochet in each stitch around.
(If you began with the color of the pants, change to the color of the shirt after row 9.)
14. *Single crochet twice, then crochet two together.* Repeat ** six times, decreasing to 18.
15. *Single crochet once, then crochet two together.* Repeat ** six times, decreasing to 12.
(Stuff the body before changing to a flesh tone for the head.)
16. *Single crochet once, then single crochet twice in the next stitch.* Repeat ** six times, increasing to 18.
17. *Single crochet twice, then single crochet twice in the next stitch.* Repeat ** six times, increasing to 24.
18. Single crochet in each stitch around.
19. *Single crochet twice, then crochet two together.* Repeat ** six times, decreasing to 18.
(If using snap on eyes, insert them at this time between the two rows of 24.)
20. *Single crochet once, then crochet two together.* Repeat ** six times, decreasing to 12.
(Stuff the head carefully.)
21. *Crochet two together.* Repeat ** six times, decreasing to six, and bind off.
You can sew the remaining hole together or do as I did and slip stitch in each stitch around before binding off, then tuck the tail inside. The tiny hole should be unnoticeable and will probably be covered with hair, anyway.
So there you go! Quick and easy. It'll end up being about 4 inches tall, if your stitches are as tight as mine end up being.
Oh, and here's an easy tutorial for adding hair to amigurumi heads, in case you wondered how!
See you next week(:
yarn bombing nature
We have had some wonderfull, sunny days here. I spend most of the time in the garden, working, taking pictures, knitting, crocheting and just sitting in the shade enjoying the weather.
I find the combination of yarn and nature really inspiring (even if it's just the garden). I always need a long, long time before I finally decide what to do with a freshly bought or recycled ball of yarn. But somehow, when I sit outside with the yarn and a crocheting needle, inspiration comes to me. The result is not always as pretty and cute as I imagined, but that's another story.
Maybe the best combination of nature and yarn is yarn bombing nature! Here are some pictures of yarn bombing projects from around the world to inspire you.

I am in love! I want a pond filled with these cute ducklings.


What a great and subtle way to yarn bomb.


I find the combination of yarn and nature really inspiring (even if it's just the garden). I always need a long, long time before I finally decide what to do with a freshly bought or recycled ball of yarn. But somehow, when I sit outside with the yarn and a crocheting needle, inspiration comes to me. The result is not always as pretty and cute as I imagined, but that's another story.
Maybe the best combination of nature and yarn is yarn bombing nature! Here are some pictures of yarn bombing projects from around the world to inspire you.

I am in love! I want a pond filled with these cute ducklings.


What a great and subtle way to yarn bomb.


Labels:
Inkie,
nature,
yarn,
yarn bombing
Big Huge Labs--
Have you heard of Big Huge Labs?
It is an awesome site that lets you do some fun things with your photos. (In a recent post, I told you all about Picnik...and I am still a huge fan!) I take hundreds of pictures every week so I am constantly looking for ways to add words or new things to my photos. My favorite thing about this site is that it is completely free! There is also an option to have your creations printed or to share them on Facebook or Flickr. I haven't used the printing yet, but I have used several of the features on my blog. There are many more cool things about the site that I do not mention below, so be sure to check it out for yourself!!
Today, I would like to show you a couple of my favorite things to do with Big Huge Labs!
1. Make a mosaic. I love to make mosaics with my own photos....but I also like to create a mosaic of things that are inspiring me on Fickr. BigHugeLabs lets me create a mosaic of my faves or of a photoset by an artist and share the pictures on my blog....while easily creating a link back to the photo credits!
I have been really inspired by this artist lately:
1. how to fold girls, 2. deer geometry, 3. i have a lot to say moleskine, 4. more aceo friends, 5. aceo friends, 6. good morning to you, 7. for my heartbroken friend, 8. i'm ok, 9. untitled, 10. wishing, 11. he might hear you, 12. ok now, 13. untitled, 14. let's put our heads together, 15. keeping secrets, 16. out on my limbs
2. Filters. I know that most of these things can also be done with a program like Photoshop...but that program is so big that it often bogs down my computer and makes it difficult to run more than one program at a time. Anyway, BigHugeLabs has lots of cool free filters for your photos.
Here is a really cool filmstrip option:
3. Frames. I absolutely love the frames that are available for the photos. For free.
The holga 35 MM frame:
ColorCraft Bonus Photo:
Postage stamp frame:
Okay, as I said before there are tons more things you can do with Big Huge Labs.....I used a couple of my favorite photos above, hope you will go check them out! I would love to see what you create! If you make anything, post a link in the comments of this blog post and I will go check it out!
Labels:
big huge labs,
mosaic,
Nellie,
photography
Subscribe to:
Comments (Atom)


